Thunderbolts and Lightning, Very Very Frightening
Aircraft sometimes fly too close to storms which means they sometimes get hit by lightning.
Here is a refresher on the signs you’re probably too close to a storm, things to do to prevent a lightning strike, and what the risks are if you do get struck.
Avoid the flash boomers.
Not flying too close to a storm is probably your best bet for avoiding a lightning strike.
Here is a quick recap. If it is big, growing bigger and has an anvil, avoid it.
If it has lightning come out of it, definitely avoid it.
If all you can see outside is this –

Then turn your weather radar on.
Once you have turned your weather radar on, it might look like this –
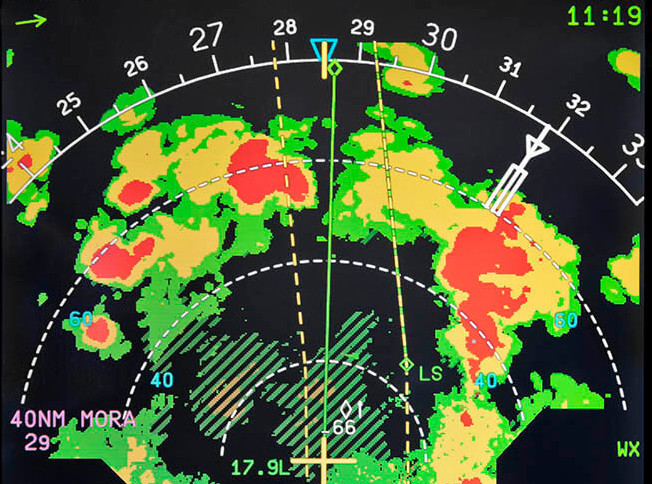
Avoid the red bits.
Keeping away is Plan A.
Avoiding smaller ones by a good 10 miles (preferably upwind so they don’t move towards you) will keep you clear of lumps and bumps, thus avoiding coffee spillages and puking passengers.
Big ones should be given at least a 20nm berth. If you want to route over the top, 5000’ seems to be a good recommendation, and never fly under the anvil.
You might also want to avoid flying between large storms. They move, and sometimes they move together. They can also combine into mega super cell storms and you really don’t want to be caught in that sandwich, especially since lightning can move sideways!
Not just a storm in a teacup!
Let’s get back to the weather radar.
This is probably one of the most misused pieces of equipment on an aircraft. Reading the manual on it is the best place to start, but if you are like most pilots and prefer to learn through practice, then here is a quick guide on how best to twiddle them knobs.
In general, your standard aircraft weather radar is going to have some sort of a tilt function, an azimuth knob and a gain knob.
- Tilt – for the ups and downs. This is handy for seeing how high a storm might have grown. If it is particularly active, you are going to want to avoid flying too close above because there will be a lot of turbulence even over the cloud tops.
- Azimuth – for the side to side. If you need to go around one, it is probably wise to check there isn’t another one you might run into.
- Gain – to see inside. Well, sort of. It adjusts the sensitivity of the receiver. If you slowly turn it down, it will help identify the threatening bits a bit better.
If it is really rainy out, your radar might be saturated – reducing the gain will help show where there is the heaviest precipitation in a convective cloud. Heavy precipitation can also cause “storm shadows” – basically a black hole where the radar signal has been blocked. If you see a black hole on your display, be suspicious. There could be something lurking behind whatever the radar is bouncing off in front.
Now, weather radar can’t really “spot” lightning, but some do have predictive functions. If not, you’ll have to use your judgement when looking at the size of the red or magenta bit. And failing even that, your eyes are pretty handy instruments to use.
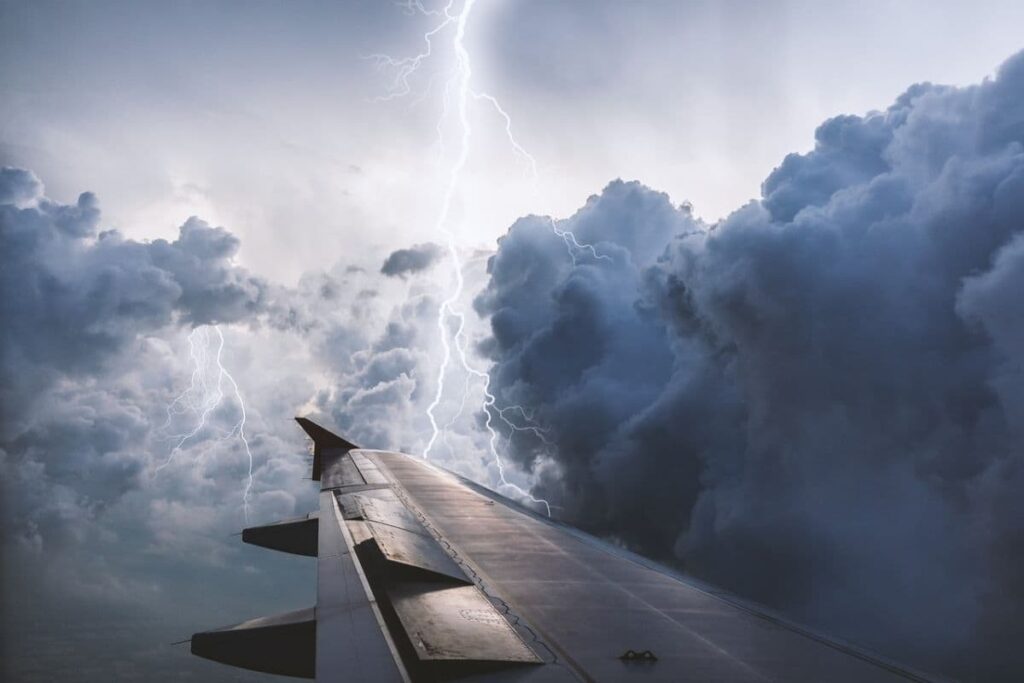
Airplane wing near a storm
Back to the point of this post…
Lightning. First up, what is it?
Lightning is electricity.
OK, that’s a bit of an over-simplication.
In more sciencey terms (but still very basic), it is negatively charged electrons in a storm which get attracted to the positive protons on the ground, and this all results in a big FLASH BOOM.
The electricity part of a lightning ‘strike’ can actually go from the ground up. The ‘light’ part is everything in the air getting mega hot, and the thunder part is because of the rapid expansion of the air due to the sudden mega increase in temperature and pressure change.
Why are we talking about it?
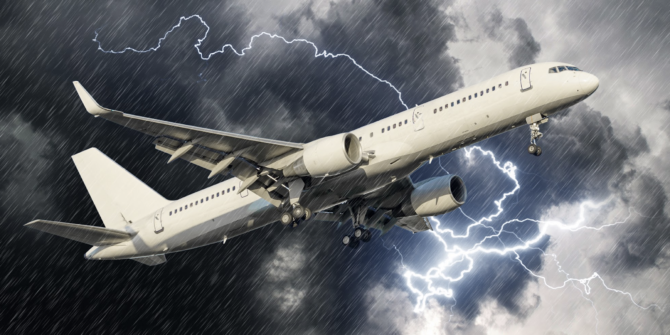
Well, we all know the threats of flying into a storm. The bumps, the ice, the hail…
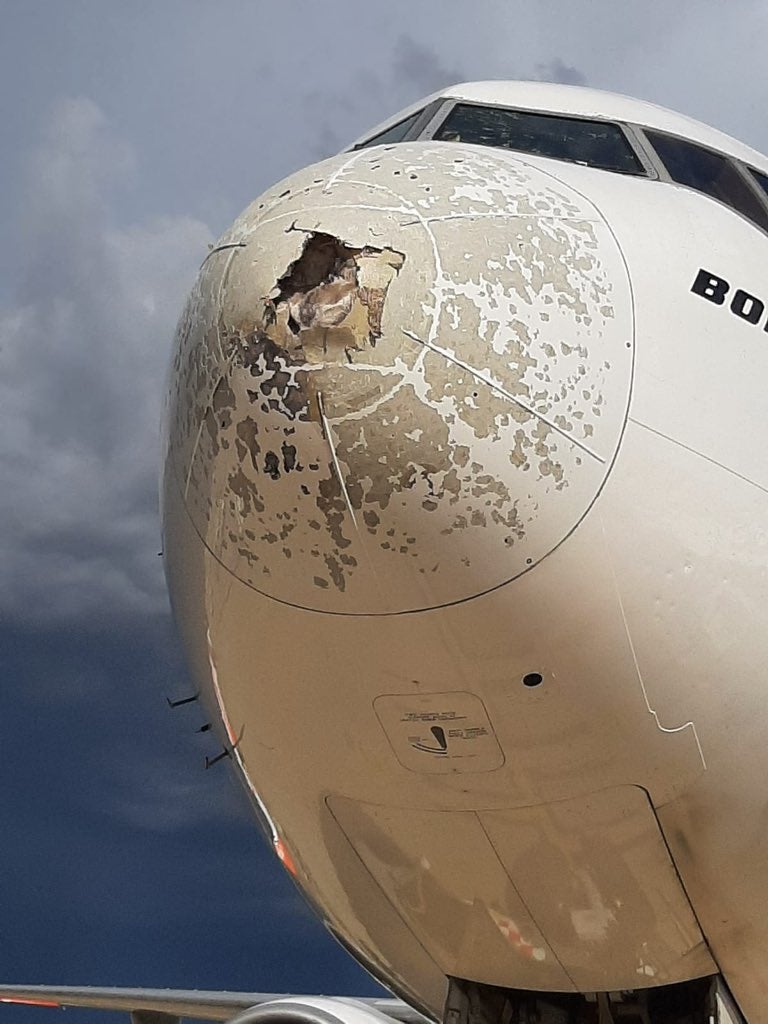
Here’s one that happened earlier
And we all know what lightning is.
The highest ever recorded thunderstorm power level came from a mega flash boomer in India. This behemoth of a storm had an electric potential of 1.3 billion volts. That’s 10 times the previous record holder. Generally household voltages are generally 100-240V so 1.3 billion is… a lot more.
We could all do with a bit of a refresher on what the RISK of lightning is.
Why?
Because aircraft keep getting hit by it so obviously folk aren’t avoiding it quite as well as they maybe could be.
A study estimated that an aircraft, on average, gets hit around once every 1,000 flight hours. So about once a year. Most of these are ‘self-triggered’ – meaning they occurred because the aeroplane was flying through a heavily charged cloud.
Lansa Flight 508, in 1971, is considered the worst crash due lightning of all time. Because of crashes like the Lansa flight, a lot of research has been done on improving aircraft resilience against lightning damage.
A deadly strike by lightning has not happened in years.
But that doesn’t mean there aren’t still other risks.

June 19, 1971. There was one survivor and they walked away from the crash site.
The Risks (and the fixes).
The three most ‘explodable by’ or ‘mess up-able by’ lightning parts of your airplane are your fuel tanks, avionics and the skin.
STRIKE 1: Your fuel tanks are protected by the skin, which must be robust enough in the tank area not to easily burnt through by lightning. The design also protects from any possible arcing and static. Fuel developments have reduced vaporisation which reduces the changes of it combusting uncontrollably.
Pan Am Flight 214 in 1963 (possibly) crashed due fuel vapours igniting from lighting, but in recent decades there have not been any accidents attributed to lightning making fuel tanks explode.
One more thing – those little sticks poking out from your wings and tail are your static wicks. They help discharge static electricity. So during your walk-around, make sure they are attached!
STRIKE 2: Modern aircraft are filled with wires. Wires which control the aircraft, the avionics, the everything really. One thing wires don’t like is too much electricity zooming through them, and that is exactly what lightning is. So aircraft wires are shielded – conductive layers around them act like Faraday cages, and these help reduce transients (oscillations caused by the movement of the lightning across the exterior of the aircraft).
Systems also contain surge suppressants to help mitigate against big surges of voltage.
But equipment, particularly the avionics, can still be damaged by lightning strikes even with protections in place.
STRIKE 3: Older, aluminium framed aircraft were actually better at withstanding strikes because they are nice and conductive – the metal skin is like a slip ‘n’ slide for the lightning. Composite skins on the other hand are not, which makes them more susceptible to damage.
They generally contain a fine mesh of aluminium to help lightning flow by providing a continuous conductive path of low resistance across the aircraft exterior, but it isn’t uncommon for burn marks and even holes to be left as a result of a strike.
Holes in the skin , if big enough, can cause decompression. Unlikely but not impossible.
Here are a few other risks to think about:
STRIKE 4: You. Not because you’re in the airplane (you’re protected by it due that whole Faraday Cage thing again). But your eyes are not – if flying near a storm turn your storm lights in the flight deck up to full bright to help protect against flash blindness.
Startle is the second big risk. In 2019, a Russian aircraft crashed in Moscow following a severe lightning strike. However, it wasn’t the strike itself, or the subsequent loss of instruments which led to the crash, but the crews reaction and “rush” to land.
STRIKE 5: Ball lightning. You know how I said it travels across the external skin of the aeroplane? Well, sometimes it can also come inside the cabin or flight deck, in a big ball.
Fact or fiction? An analysis of ball lightning in aircraft was carried out in 2009. The researchers wanted to find out if this was just “lore” or “for reals”. They analysed reports from 1938 to 2007 discovered 87 occurrences of ball lightning being witnessed in or from aircraft.
It is described as a “metastable, rare lightning type” – basically, a horrifying ball of electricity around 25cm in size that can come swooshing through the cabin. The big mitigation here is, again, to just avoid storms.

There don’t seem to be any actual photos of this phenomena
How else to tell if you’re too close?
- Be on the look out, or rather sniff out, of an Ozone smell.
- If you start to experience strong static on frequencies this might be an indicator or electrical activity outside.
- St Elmo’s fire on windscreens occurs as static charge builds up – a sign you are in a highly charged area.
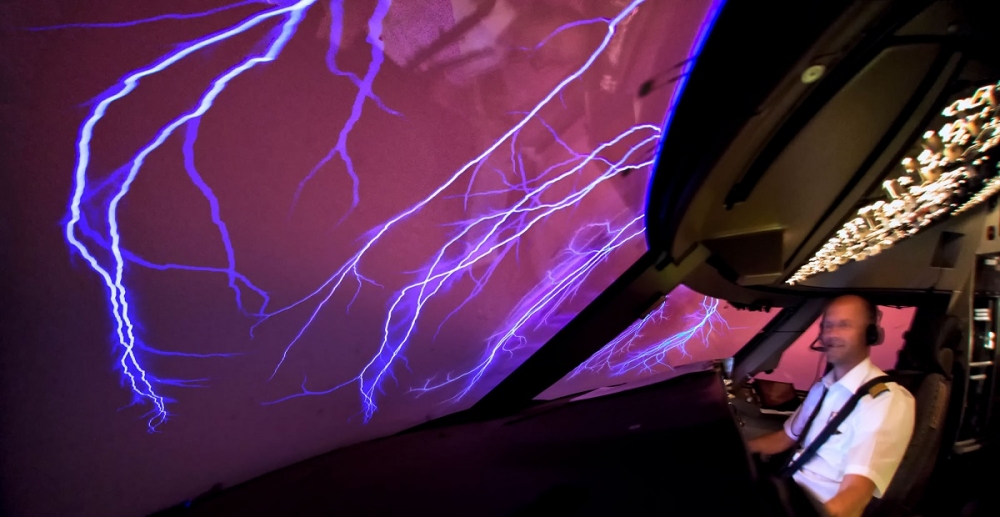
Impressive display of St Elmo’s Fire (Credit: Christiaan van Heijst).
What else can you do to avoid?
- Check your weather radar as you line up for departure. Request an early turn to avoid and if ATC cannot accommodate then delay your take-off. Most strikes occur between 8,000 ft and 14,000 ft so think about the departure routing too.
- Check up ahead and plan weather avoidance early – double check your planned route won’t lead you towards more weather, or into prohibited or unsafe airspace. Or too close to a volcano as an Air France flight accidentally did.
- Check the charts – see what is forecast before you get there.
- Certain areas, and certain times of year, get more storm activity. If you’re routing through the ICTZ then be ready! If you are heading into a known region, make sure that radar is on and you are looking out!
- Use sites that show live lightning activity when planning your flight. Eurocontrol provides cross border forecasting and recommends Lightning Maps as a top site for tracking storm activity.
- Blitzortung has worldwide lightning strike maps (and they look pretty cool).
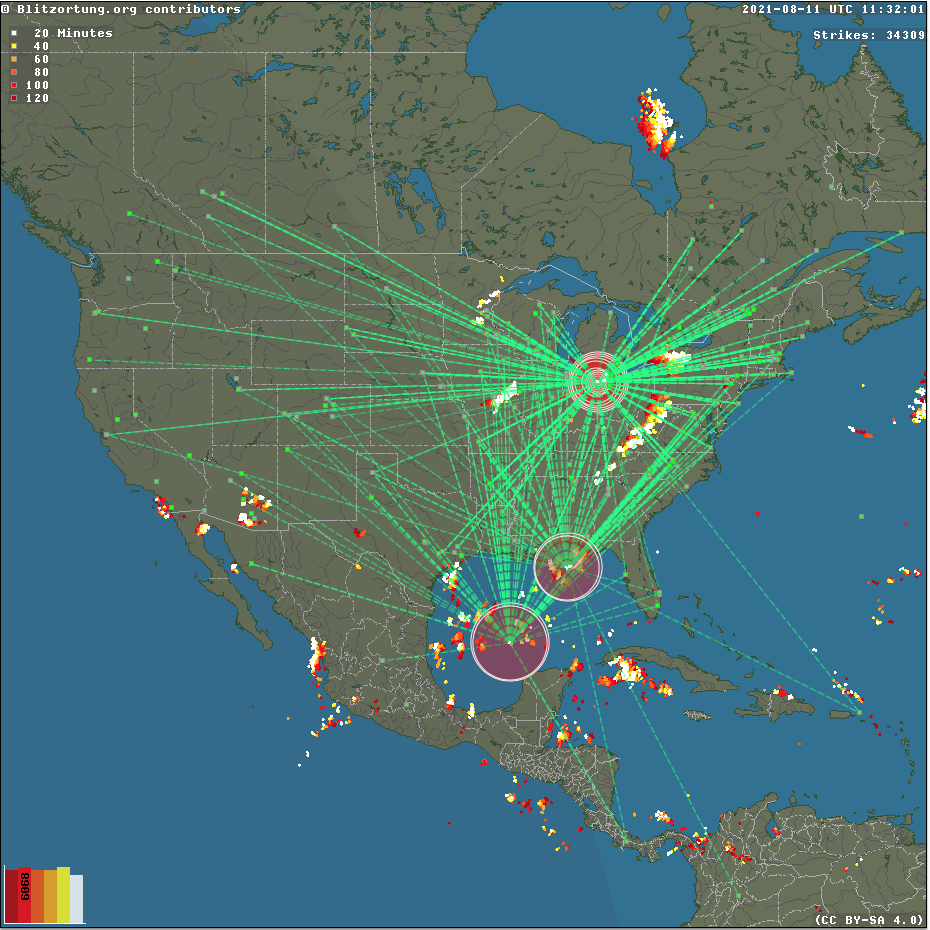
A snapshot of live lightning strikes in the USA.
Struck by a need to read a bit more?
- This article on lightning protection in aircraft, by FlightSafety, is interesting.
- A handy piece by AOPA on using the weather radar (and deciphering what it is showing you).